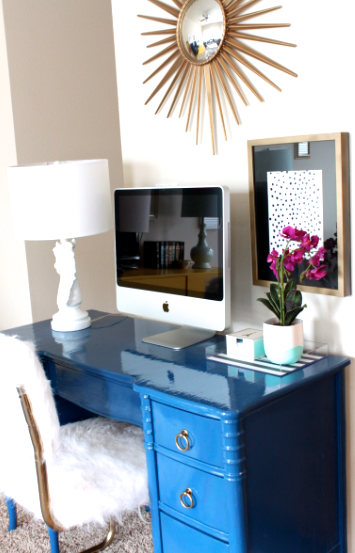
On Monday I shared my new $20.00 DIY desk chair.
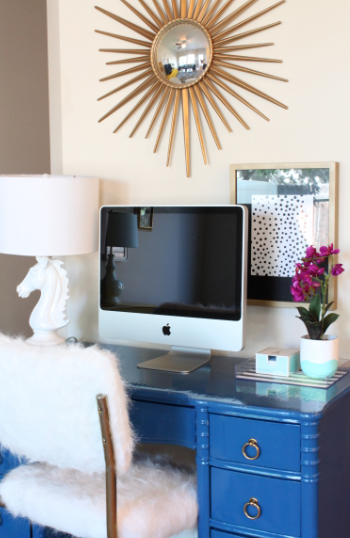
As promised in the post, today I sharing the tutorial for the black & white dotted art that hung above the desk.
This project is super simple. So easy that I am pretty sure my 5 year old girl could do it!
I had everything I needed for this DIY on hand, so the cost to me was nothing.
You know I like that.
Are you ready?
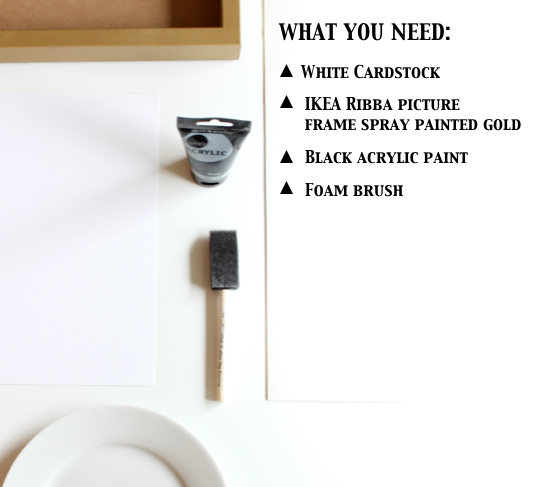
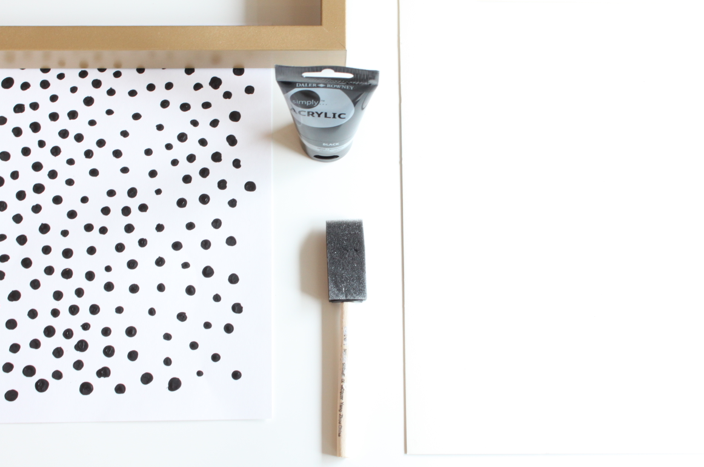
1. I used the bottom of my cheap-o foam brush to make the dots.
I simply dipped it into the paint, made sure it picked up lots of paint, and pulled it out.

Notice in the photo above that the paint forms a peak on the end of the brush.
Tip: The more paint the easier it is to create the smaller dots.
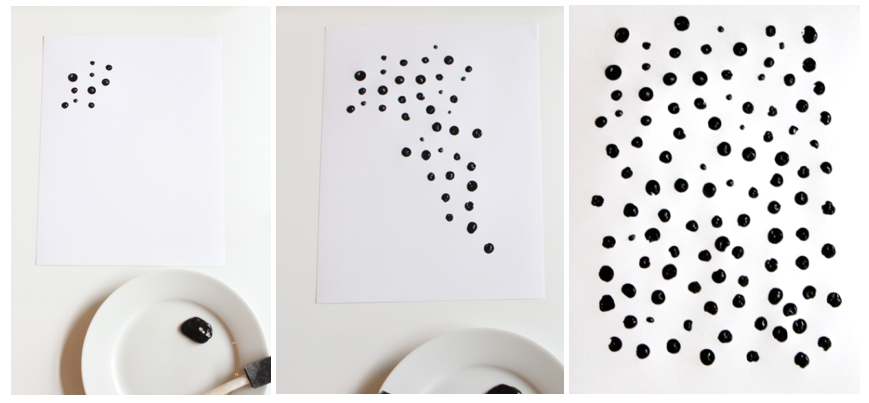
2. Get your dotting on. It doesn’t have to be perfect or have any pattern.
Just go for it!
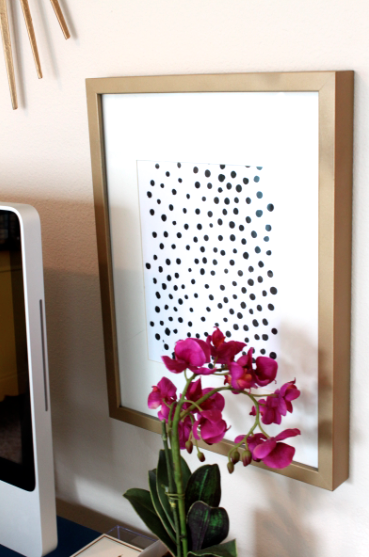
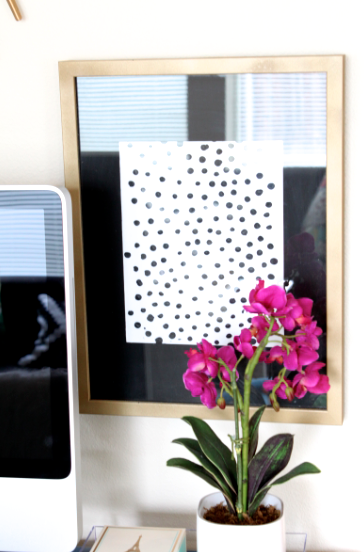
3. Frame it!

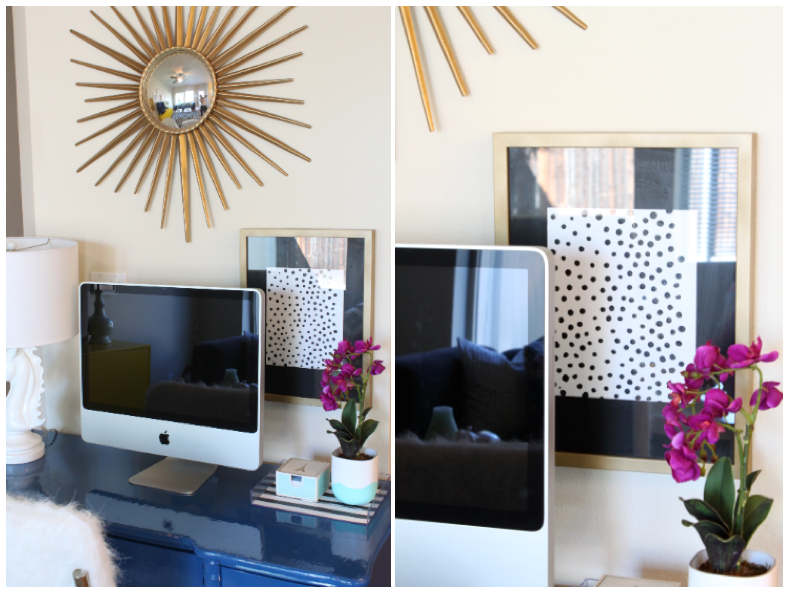
I love it paired with the gold frame and white mat, but when I hung it on my wall it didn’t feel right. (plus IKEA mats are much more cream than white!)
So, I got an idea…paint the mat black!
I took the art out of the frame, removed the mat, and started painting.
I used the same black acrylic paint as my art.
It painted great but did bend the mat when it dried.

Once I placed the mat in the frame, the weight of the picture frame backing flattened it out.
Tip: although I love the look, the black mat shows every single piece of dust that it collects. Patience is needed when assembling. 🙂

After a few naughty words I got the mat in without any dust!
I am in love!
I am pretty sure it is just what my wall was calling for.

I love how it adds a punch of personality but is still so simple.
I think it is fun to see how much impact a mat can have on a piece of art.
If you ever feel like your art could use a little updating, you might want to consider just switching out the mat!

So what is your preference?
White or black mat?
xo,