fabric crush December 10, 2010 By admin 11 Comments fabric.com always has a great selection. i love these. i would love to see them in a nursery. go here. and here. happy weekend!
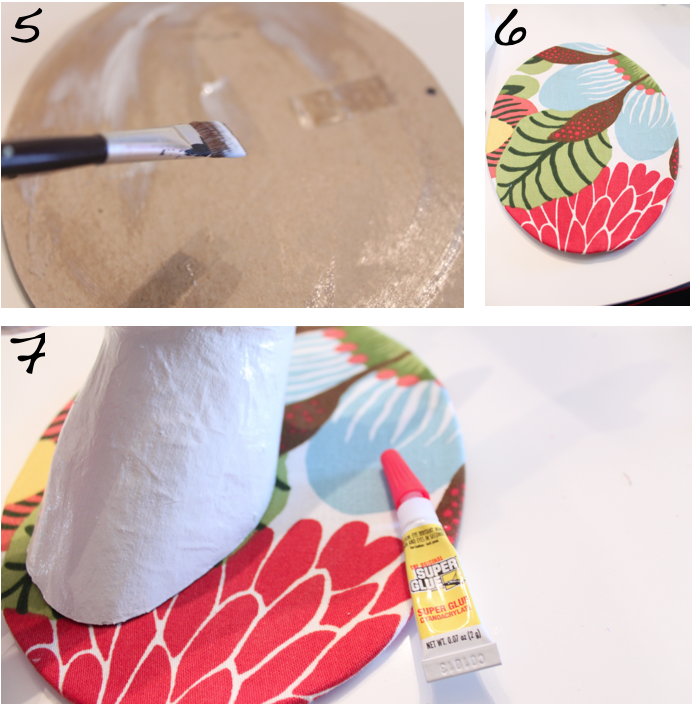
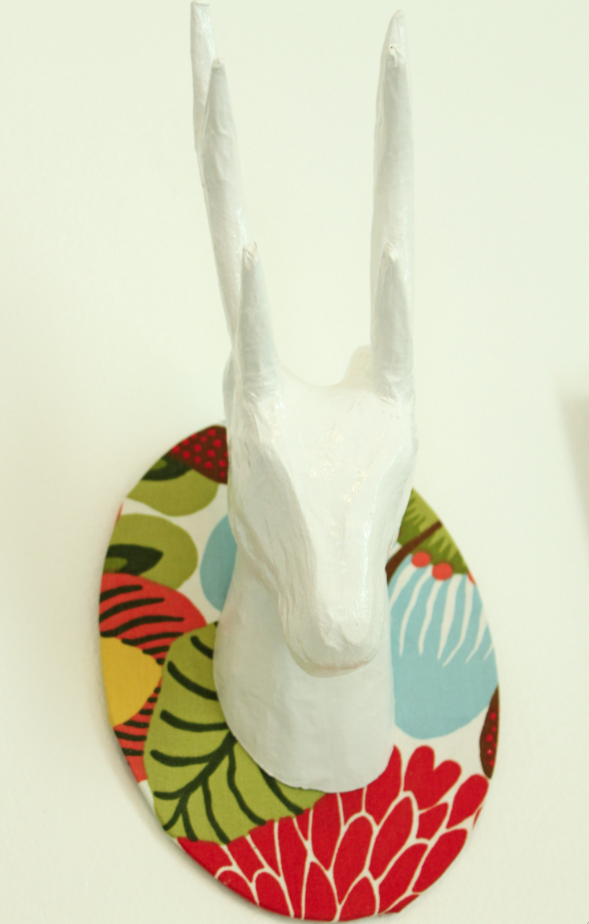
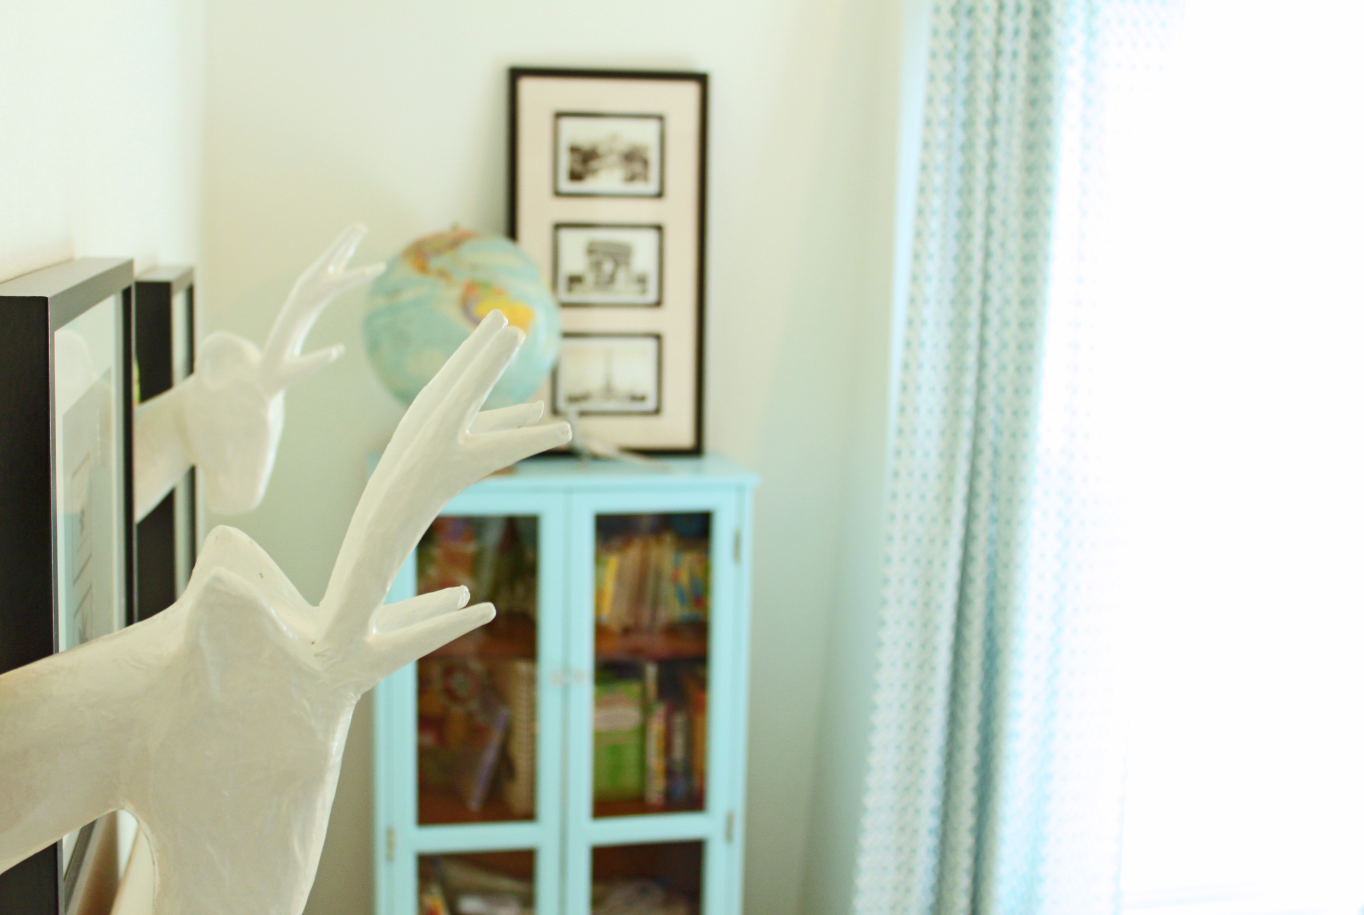
diy deer head tutorial December 9, 2010 By admin 23 Comments this is possibly the easiest diy project i have ever done. it went smoothly and turned out just as i was hoping. i purchased 2 sitting deer at micheals. they were on clearance for $8.99 each. step 1: cut off heads. i took the deer to my local home depot’s tool rental. they used the chop saw to remove the heads. {hint: you need to cut the heads at the same angle that you want them to hang on the wall} step 2: wipe the heads down of any dirt or dust to prep for painting. step 3: paint the deer heads. i used a white primer and a high gloss pure white paint. it took me 4 coats total. step 4: select fabric and cut to fit your plaque. i used a leftover backing from an old picture frame as my plaque. step 5: glue fabric to backing. i used mod podge and it worked perfectly. step 6: wrap fabric tightly around plaque step 7: glue deer head to fabric plaque. i used super glue. i am an a super glue kick! step 8: attach hook on back. i used a leftover hook from an ikea picture i purchased. it works perfect. i used a hot glue gun to adhere it to the plaque. and your finished. inexpensive, simple, and quick. that’s my kind of diy project.
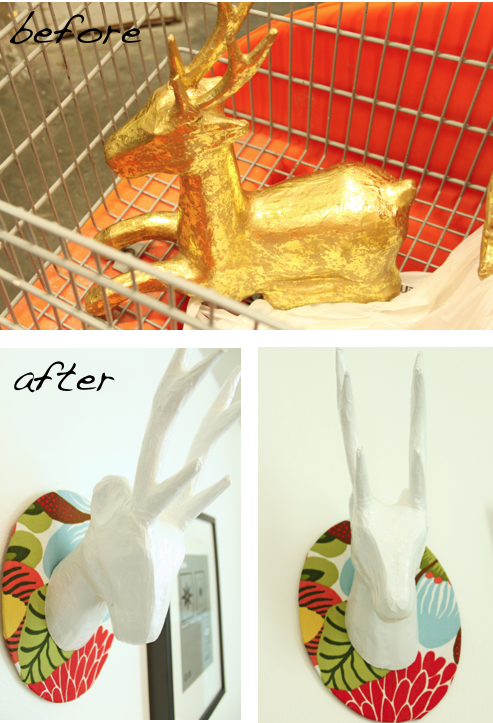
$9.00 diy deer heads December 8, 2010 By admin 38 Comments i think they turned out fantastic. what do you think? diy tutorial coming soon 🙂
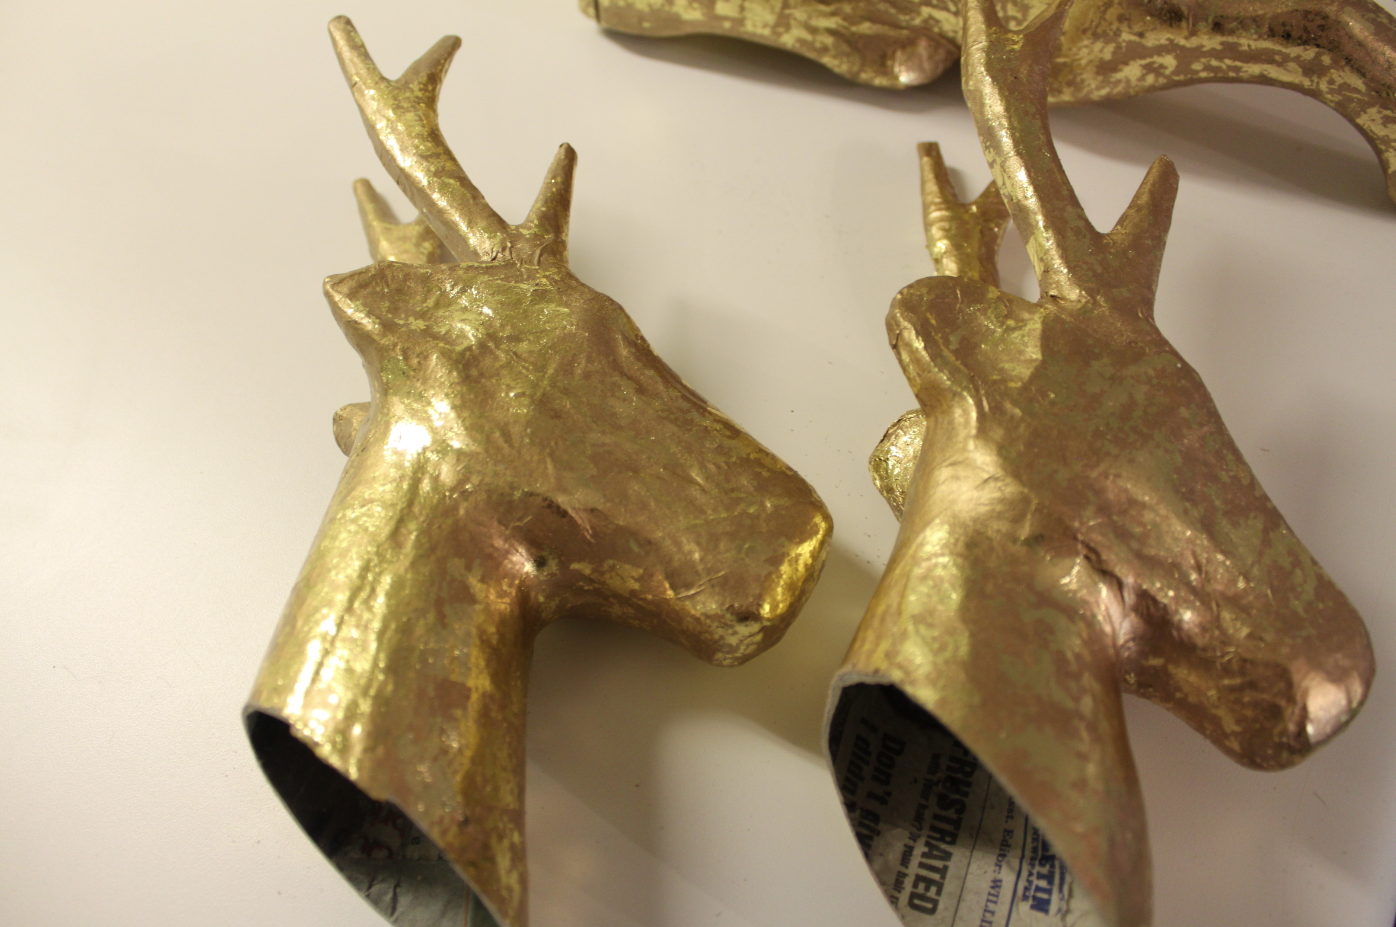
R.I.P deer December 7, 2010 By admin 27 Comments i spotted these deer on clearance at michaels this afternoon. $8.99 each. my mind starting spinning. i purchased them and headed to home depot (aka butcher) the guy at the tool rental thought i was a little weird, walking around with a deer in my cart and taking pictures of it. he was convinced that i was crazy when i asked him to cut off their heads. luckily he obliged. are you confused? i think this might end up being my best diy project to date. i am off to finish!