I am so glad that Amy from Plain & Fancy Living sent this fabulous and thrifty DIY project my way.
She was also kind enough to give us a quick tutorial too!
Thanks for sharing my project on your Thrifty Tuesday’s Series Danielle! I was tired of looking at the unsightly plumbing and cleaning bucket under the unattractive builder’s grade utility sink in my laundry room.

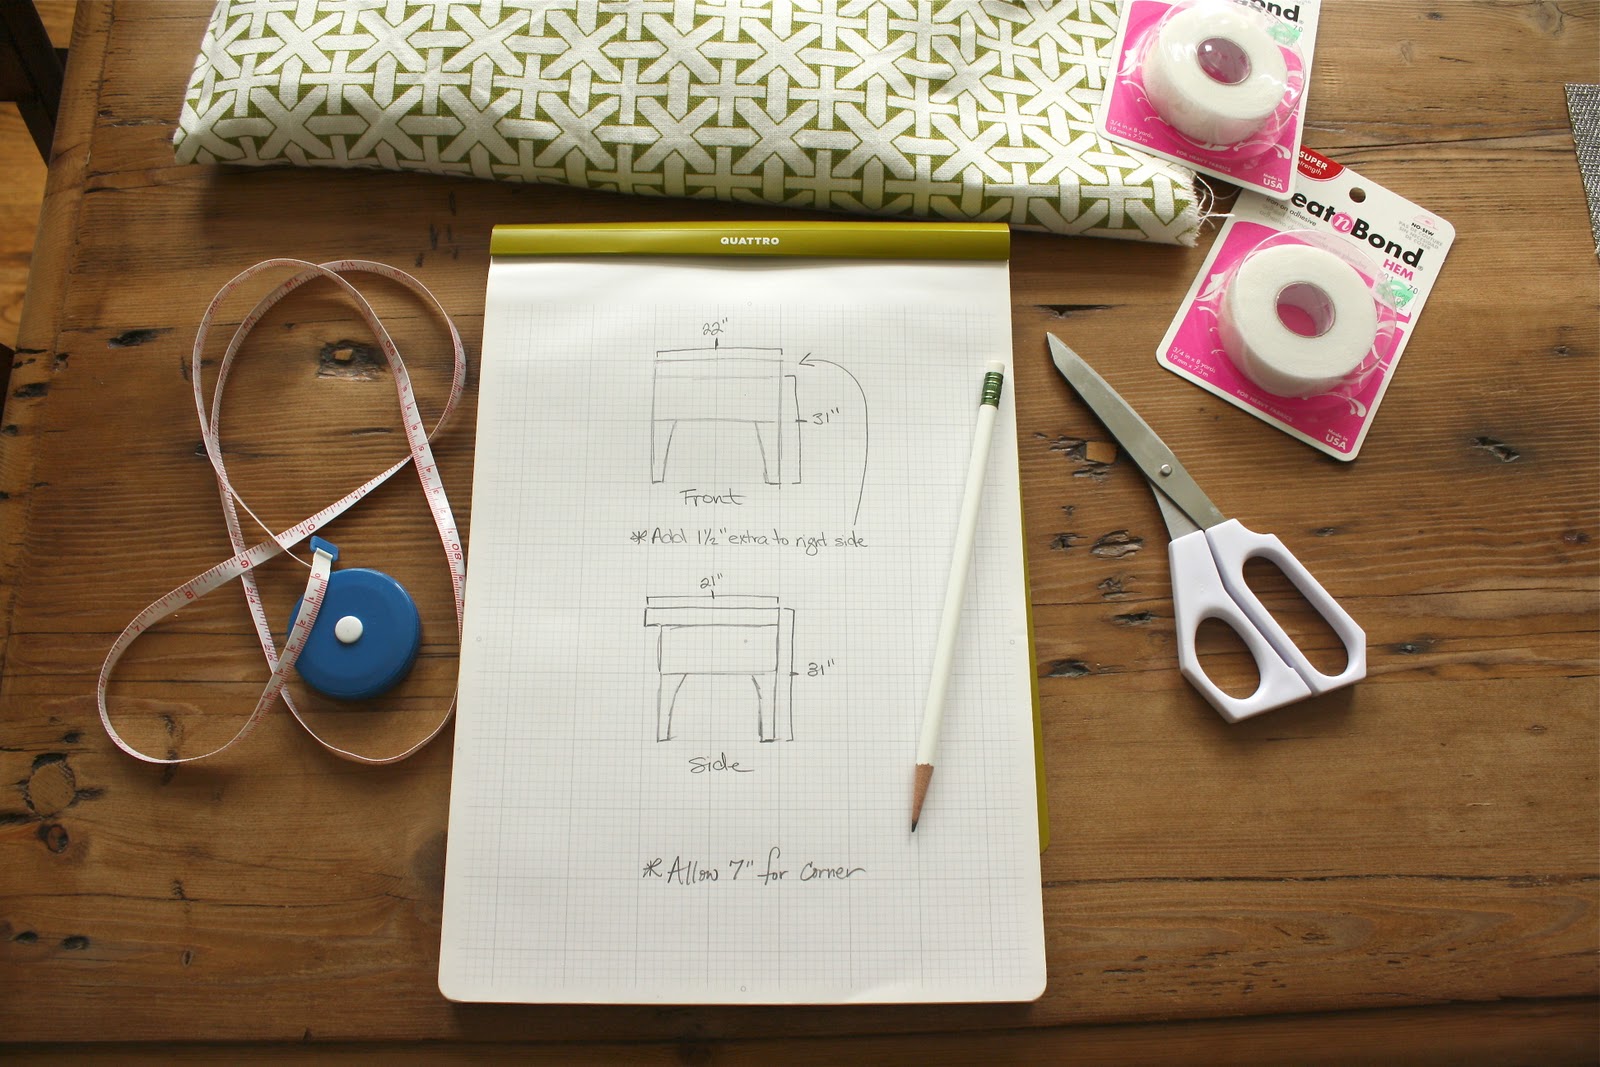
I decided to make a “no sew” skirt to hide the bottom half of the sink. I paid $8.48 for 3/4 yard of fabric in a geometric print. First, I measured the sink and to see how much fabric I needed for the front, side and corner panel. I wanted the skirt to look custom and have easy access to the cleaning bucket underneath.
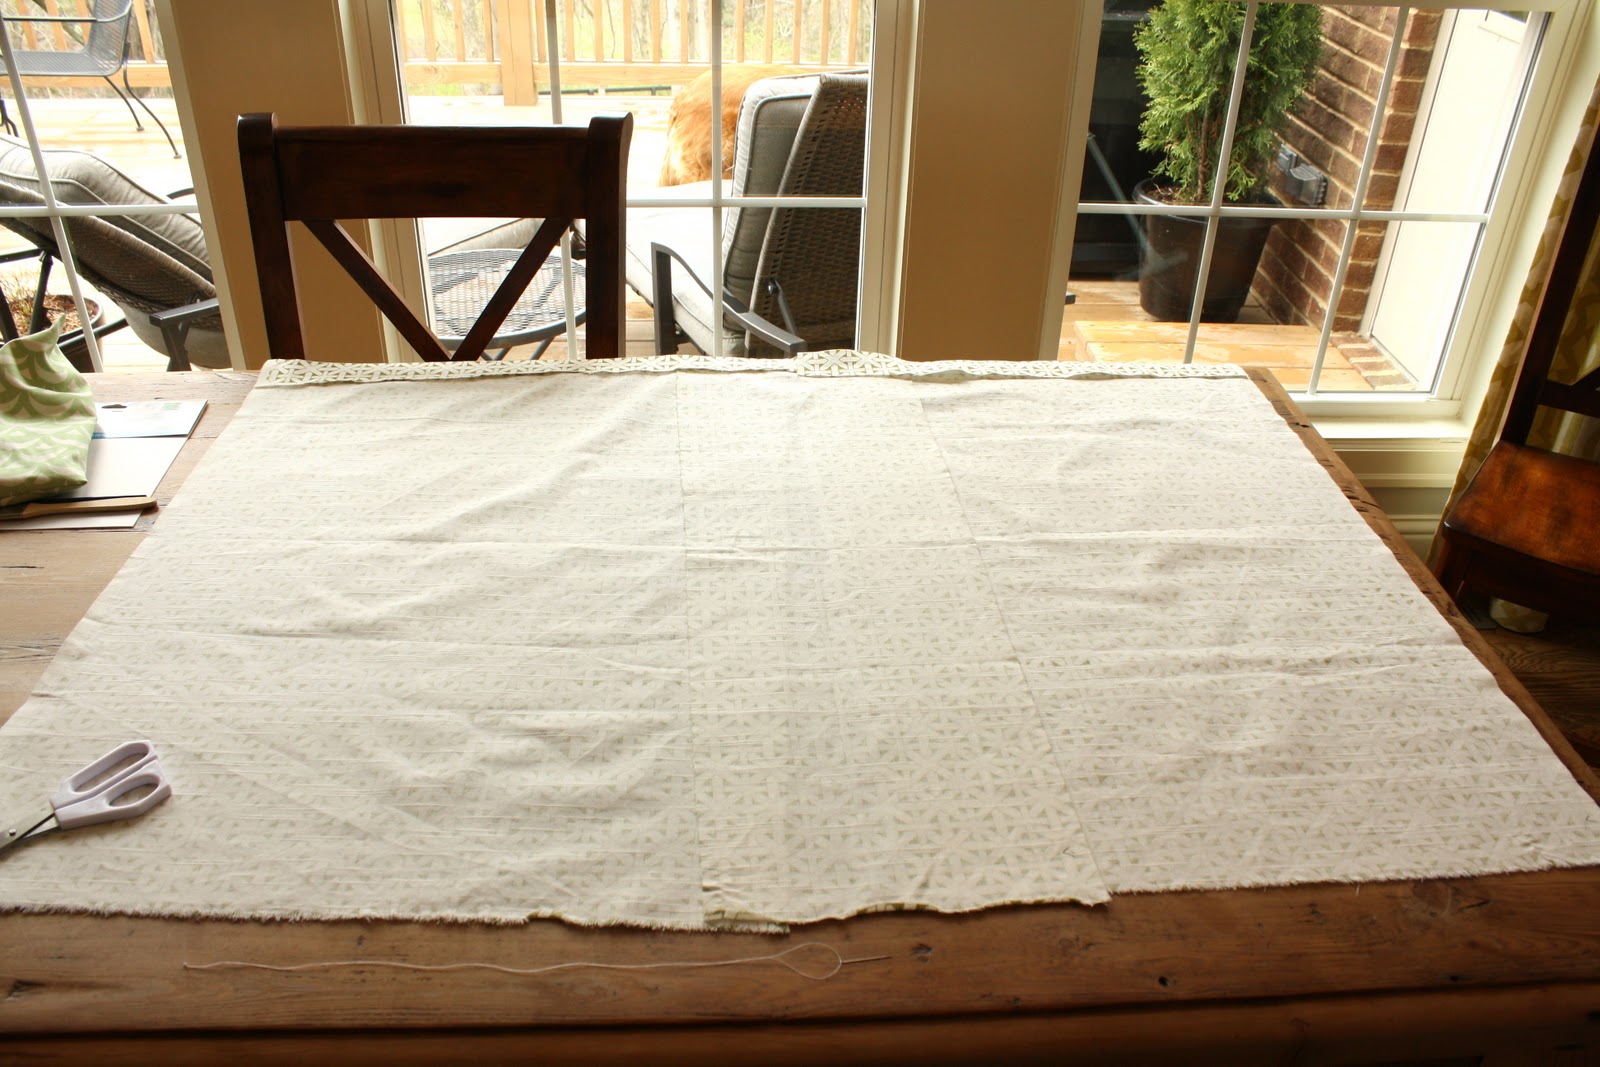
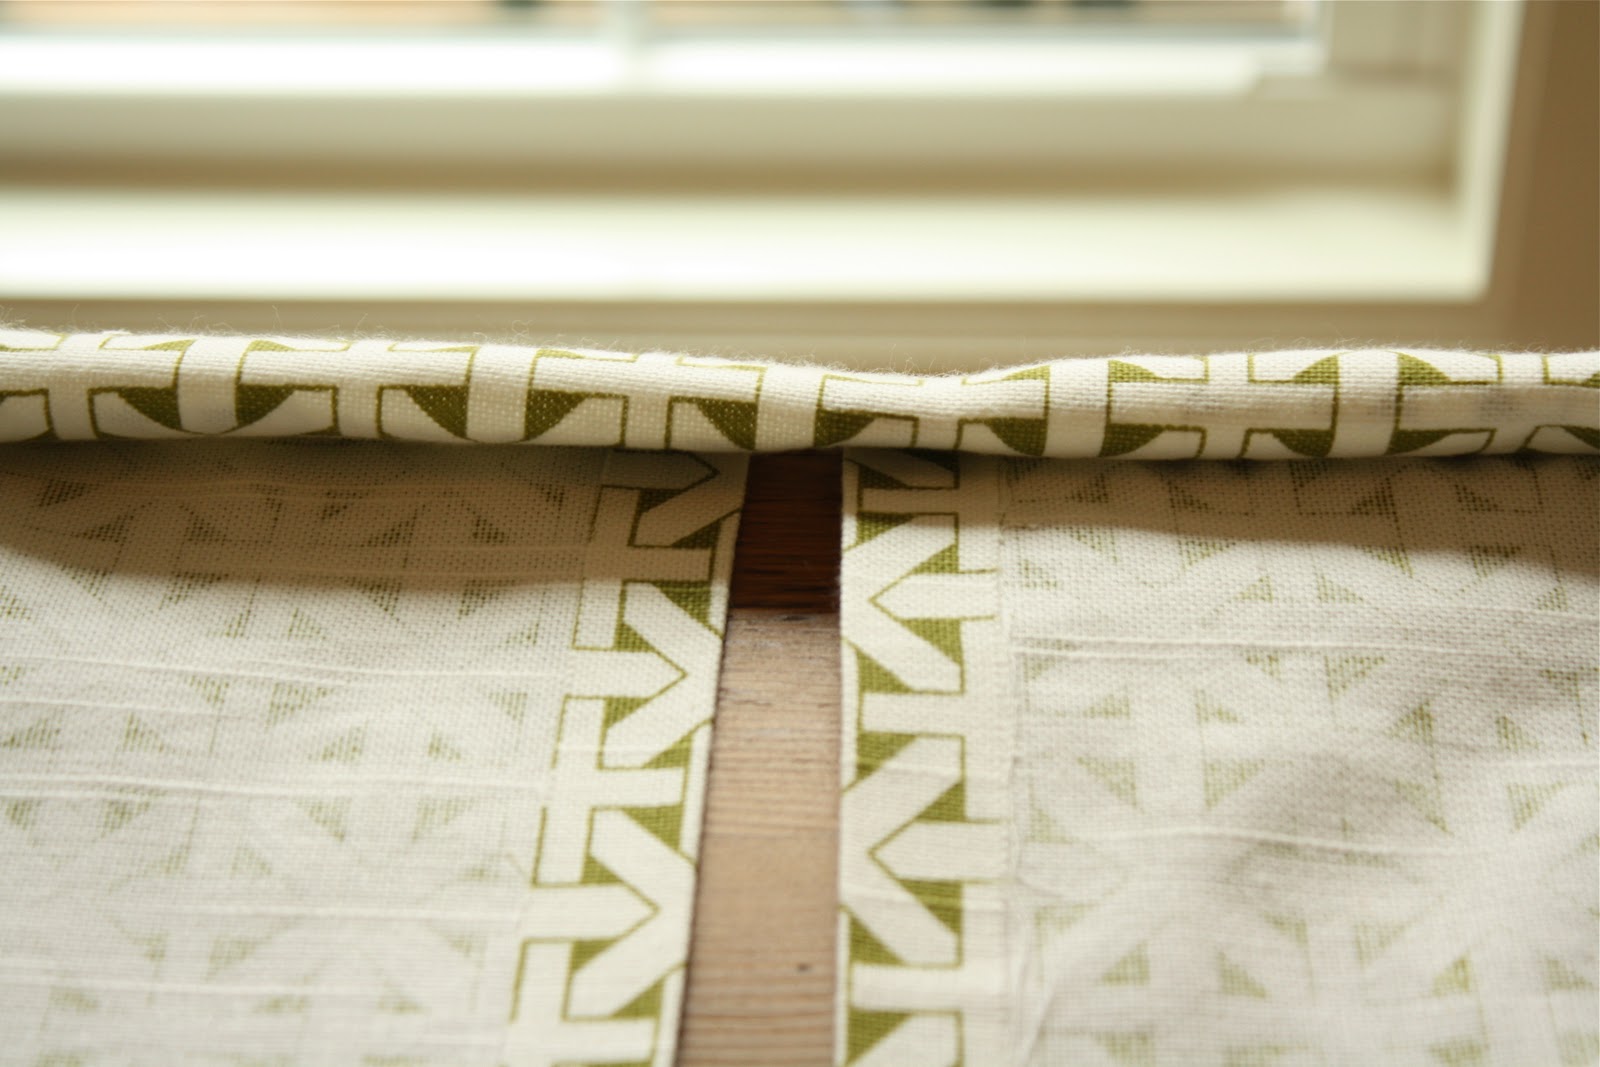
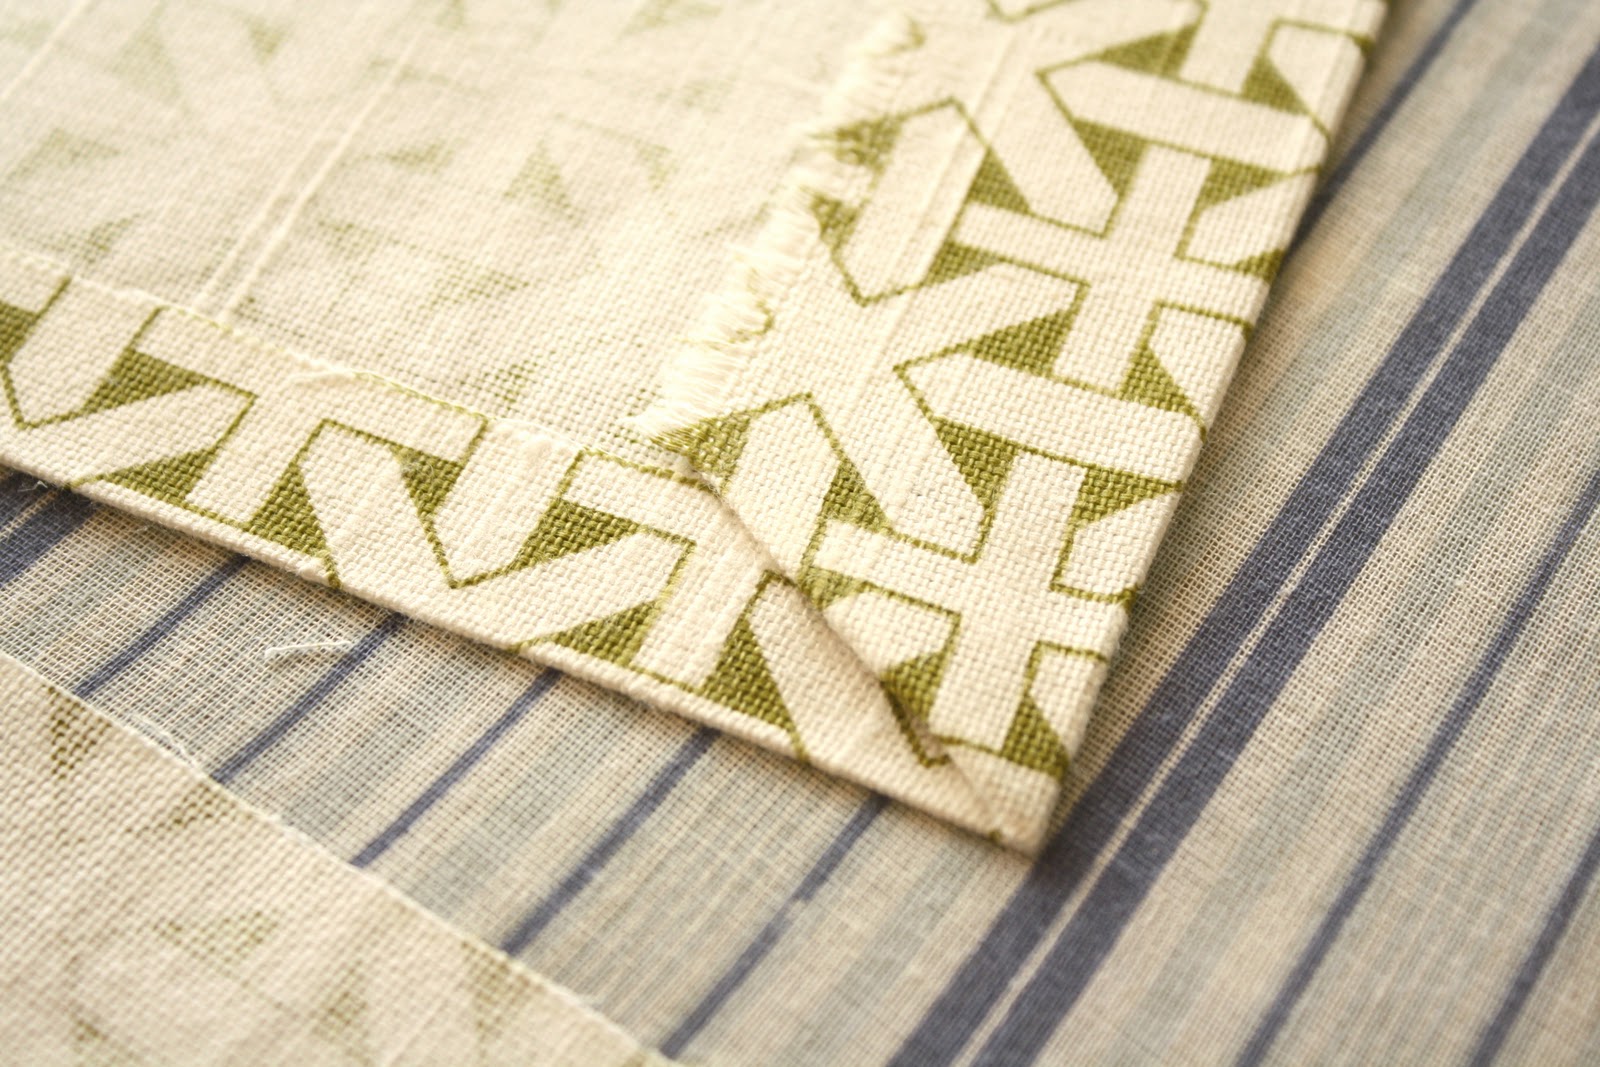
Once I had my measurements, I cut the fabric into three separate pieces. I applied the “no sew” hem to the corner piece first, then I started hemming the front and side panels. I had to allow room to overlap the top hem over the corner piece that I had already hemmed.
I did whip out a few real stitches to reinforce the fabric where the pieces met as added security. This is the only place I used a needle and thread.

I finished hemming the bottom of the skirt.
I wanted to protect the fabric from spills and dirt. I applied this fabric protector spray.

I applied this crazy sticky velcro to the sides and corner of the utility sink and tacked the edge of the side panel to the wall with an upholstery nailhead that I had leftover from my corkboard project (I always try to use project leftovers whenever possible).

I peeled off the outside piece of adhesive paper from the velcro and placed the skirt right at the edge of the lip of the sink. I pressed really hard to make sure the fabric was sticking to the velcro. I continued all the way around the corner and front of the sink until it was completely covered.


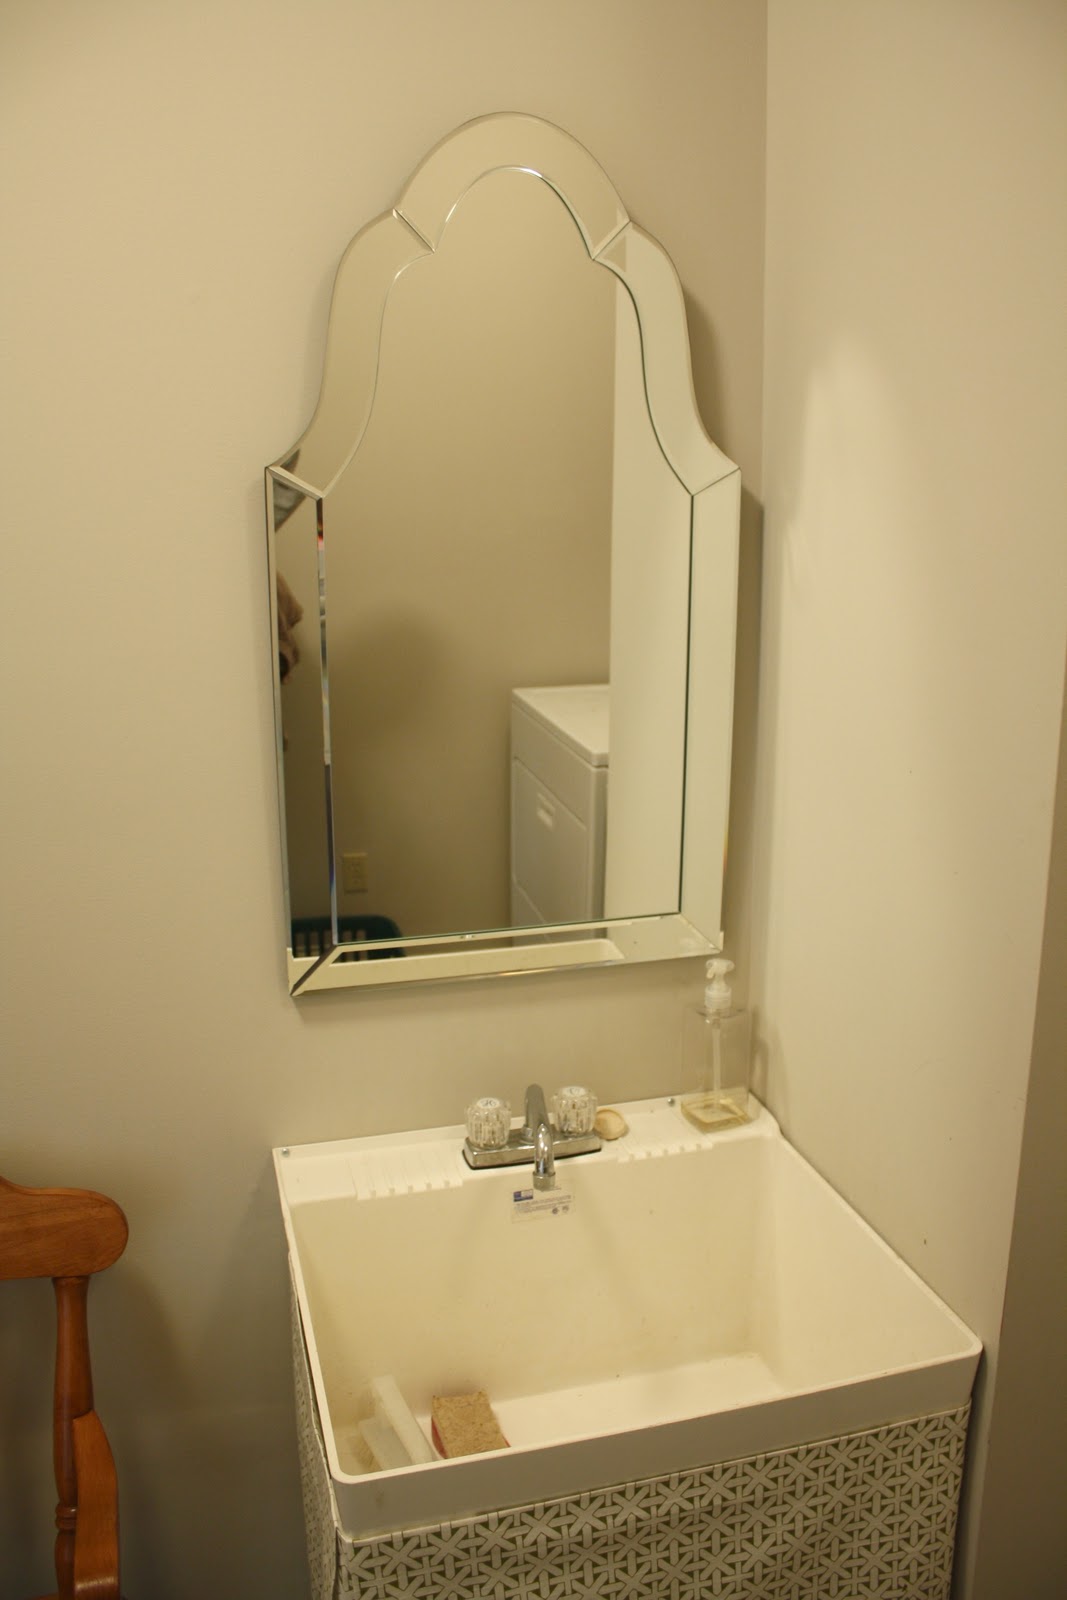
I added this really cute mirror that I found at Lowe’s (it was on sale for around $60) that looks very similar to a Pottery Barn mirror. The dimensions for this mirror were perfect for the space.

BEFORE

AFTER
This project was super easy, fast and thrifty. I spent the most money on the mirror but I think it was worth it.

The skirt turned out so cute. I have such envy of anyone who has a laundry room with a sink. It’s on my must haves list for our next house for sure
Perfect timing–I wanted to make something like this for my ugly utility sink. Thanks!
Fancy little face lift, love it!
So great! I like the fact that you dressed it up, rather than just camouflaging it!
Fab little makeover!! Love the mirror!
Beautiful work!
xoxox,
CC
What an easy and amazing makeover!!
Great job! I love the beautiful fabric choice! Thanks for the tutorial- I have a similar utility sink, and this is a great idea. 🙂
She did a fantastic job. The hems are perfectly done.
This is brilliant- I have the ugliest utility/laundry area in the world so am inspired to actually try something like this- so fun and I love the mirror as well!
Amy’s so cool. Great makeover!
It is amazing what a little fabric and mirror can do! I love this. I have been waiting to update my laundry room for a while – but it is just too overwhelming… it is all gross baby blue (Walls, carpet, ceiling, cement floors) – I dont know where to start!
Love Amy’s makeover, it is so cute!
VERY cute! I wish sooooo badly that I had a utility sink for all of my projects. If I ever coax the hubby into installing one for me, I will dress it up with a skirt like yours! LOVE IT!
Seriously brilliant idea! It looks amazing. And thanks again for guest posting! Everyone is loving it!
Wow! I don’t think I would mind doing laundry if that was my sink! I love the fabric she used too.
Danielle! I just found your blog and read through the entire thing. Seriously, all the way to your first post. !! Thank you for all of the great tips! I spend most of my time being a full-time mama of twins and running my photography business, and I am a part-time design blog stalker. 🙂 Emory is a doll too…I can’t imagine spending three months in the NICU. We were there for a little under a week and it was a life-changing experience. So happy to have stumbled upon your work! xoxo
Great project!
It looks so chic and expensive, well done, a hurraay to you
Great job!! Love the fabric Amy used and it looks adorable as a skirted sink!
That is one snazzy sink! Love the mirror and fabric choice too!
Thanks so much for featuring the project Danielle! Lots of great comments and encouragement to tackle bigger projects.
xoxo
Amy R.
Hello all,
Really, you have created a nice site about sink. Sinks generally have taps that supply hot and cold water and may include a spray feature to be used for faster rinsing. They also include a drain to remove used water this drain may itself include a strainer and an overflow-prevention device. Thanks a lot….
Stainless Wall Cabinet
Amy/Danielle, this is a great project! So smart!
amy is so a genius! I love this 🙂
Brilliant! Great job Amy!
Love Amy’s makeover, it is so cute!