if your anything like me, turkey is not your only concern this week.
house guests always motivate me to get my place looking perfect!
it’s amazing how many diy projects i can get done in one day when i have guests coming.
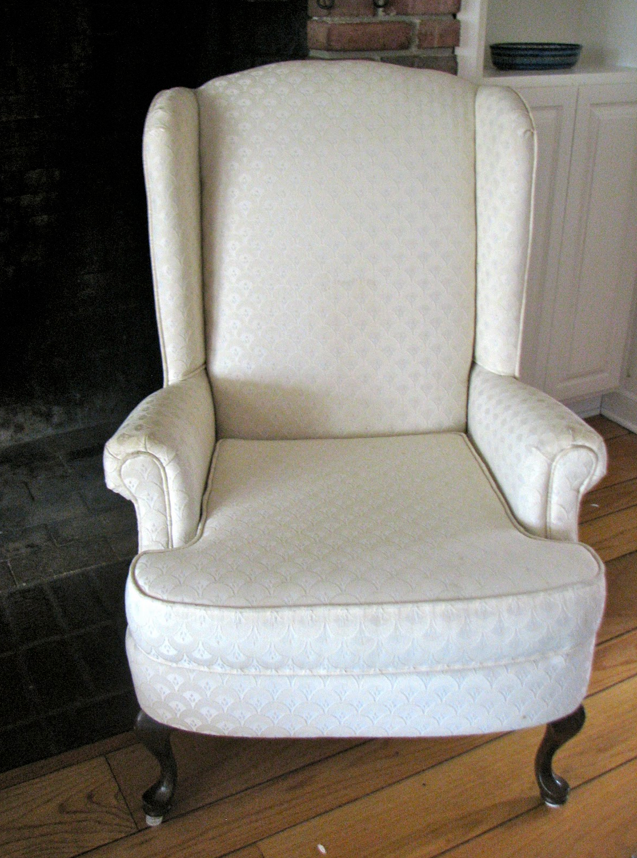
this inspiring diy re-upholster project by sarah at three boys might be the perfect finishing touch to your home.
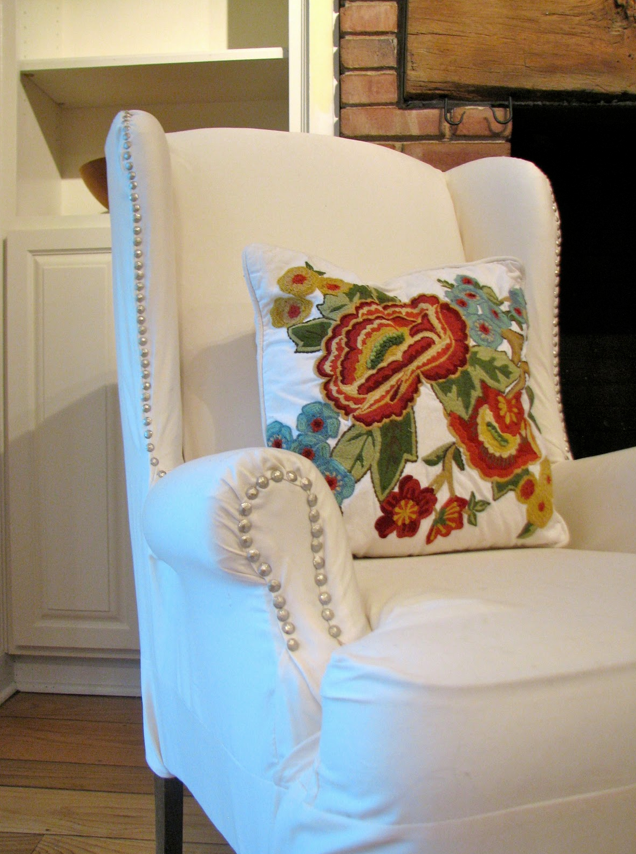
she took an outdated wingback chair and upholstered it with a slip cover, genius!
she added upholstery nails to create a custom look.
isn’t it beautiful.
check out how she did it here.
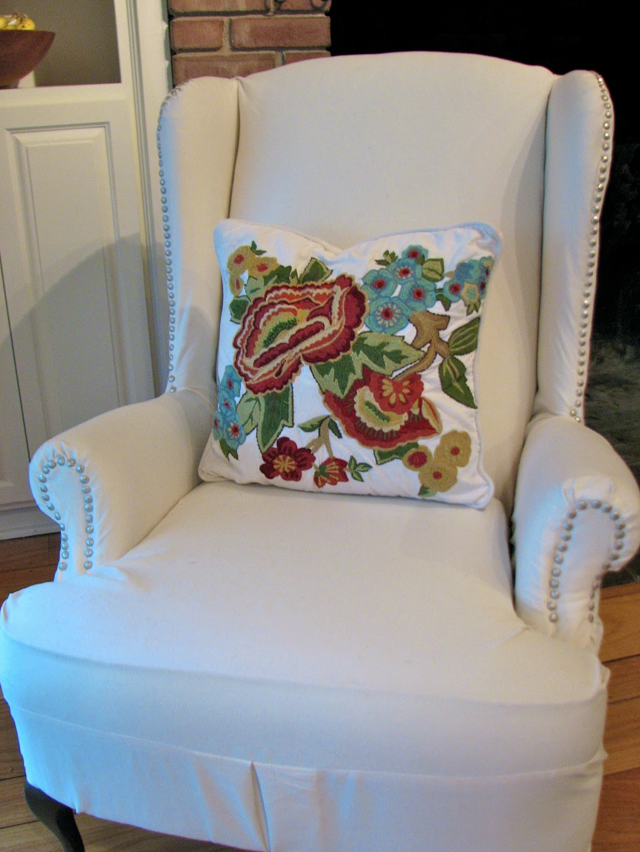
total cost: $100.00 (including purchasing the chair)
if you have an old wingback chair laying around (and don’t have an extra $500.00 to get it re-upholstered) this might be the perfect solution.
happy monday!
Ohh definitely do it, it looks so pretty and new!
My wingback chairs so need this. Thanks for the tip.
-Rene
Sarah did an amazing job, making a slipcover not look like a slipcover at all! Janell
WOW! The nailheads are such a great touch. I love what she did.
Thanks so much! This chair is really getting around:)
This is such a great solution! I have never seen a slipcover with nailhead trim!
Thanks for sharing this. I have been looking at some wingback chairs on craigslist, but didn’t want to pay a bunch of money to have them reupholstered! The nailhead trim is also amazing!
wow – that looks incredible! love the idea of adding the nailheads! I have a wingback that I’d like to revamp and I think I might just do it! 🙂
Wow you’re right! you’d never guess that was just a slip cover. Looks so good! It was so fun to hang out with you all the other night too. And I’m now an official follower of this blog! Keep up the inspiring work!
Love what you did to the chair!
Loooove it!!! Learning how to reupholster is totally on my bucket list!